From Zendesk to Chatlyst: The Complete Migration Guide
Aug 21, 2026
By Hunter Stone
Something is breaking in the world of customer support software. Companies that bought into Zendesk five years ago are discovering a nasty surprise: their “simple” help desk tool has become a bloated, expensive maze of add-ons, seat licenses, and bolt-on AI features that don’t talk to each other.
The numbers tell the story. A 50-agent Zendesk setup at the Suite Professional tier runs $115 per agent per month — that’s $69,000 a year before you add the $50 per agent Copilot add-on ($30,000 more), the $1.50-$2.00 per automated resolution fees, implementation costs, and training. All in? You’re looking at $246,900+ annually for what should be a straightforward customer service platform.
Teams are done with it. In 2024 and 2025, we’re seeing a wave of mid-market companies ditching legacy ticketing systems in favor of AI-first platforms. Not because they want to be trendy — because the math stops working when you compare the old way to the new way.
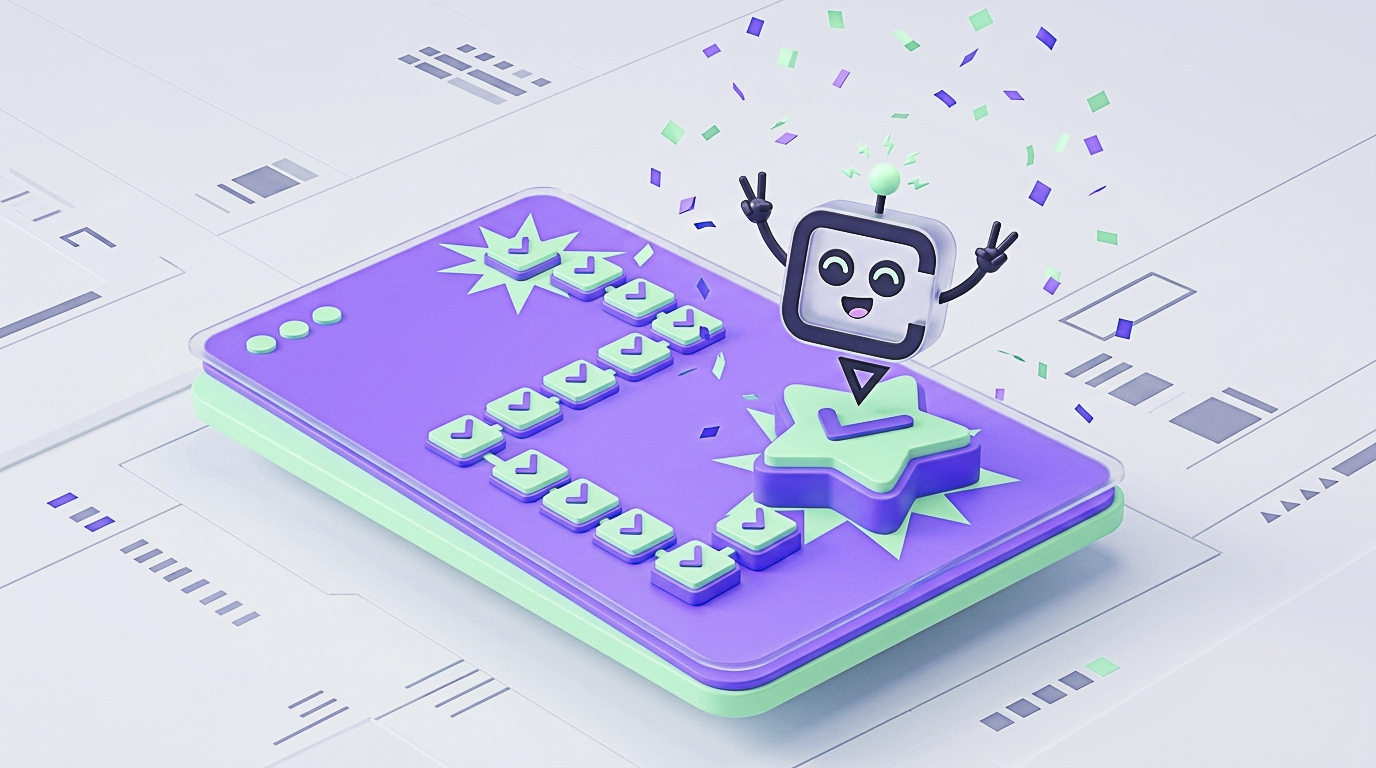
This guide walks through exactly how to migrate from Zendesk to Chatlyst. No fluff. No vague advice. Just the concrete steps, timelines, and decision points you need to make the switch with zero downtime and maximum confidence.
Why Teams Are Leaving Zendesk
The Pricing Trap
Zendesk’s pricing model was designed in a pre-AI era. It assumes every agent needs a named seat, every automated resolution carries a surcharge, and premium features get locked behind ever-higher tiers.
Here’s what Zendesk actually costs at the Suite Professional tier — the minimum level where AI features become meaningful:
- Base platform: $115/agent/month
- Zendesk Copilot (AI assistant): $50/agent/month add-on
- Automated resolutions: $1.50-$2.00 each
- Advanced AI add-on: $50/agent/month
- Implementation and onboarding: $5,000-$15,000 one-time
- Training and change management: $3,000-$8,000
For a 50-agent team, that’s roughly $246,900 in year one. And if you need Suite Enterprise for full API access or advanced security? The base jumps to $169 per agent per month before add-ons.
The problem isn’t just the total cost — it’s the cost structure. Every new agent means another seat license. Every automated conversation incurs a per-resolution fee. The system penalizes you for growing and for automating. That’s backwards.
The Bolt-On AI Problem
Zendesk’s AI strategy is a patchwork. Copilot came from an acquisition. The automation engine was built for rule-based ticket routing, not natural language understanding. Intent classification was layered on top years later. None of it was designed to work together natively.
The result? Agents need to learn three different interfaces. Workflows break when AI suggestions don’t sync with ticket fields. Setup takes weeks of professional services engagement. And the AI still only handles 50-70% of queries automatically — the rest get bounced to human agents with a “sorry, I didn’t understand” message that frustrates customers.
Deployment Complexity
Getting Zendesk live is a project, not a task. Typical deployment timelines run 4-8 weeks for basic configuration, 8-12 weeks for full workflow setup, and 3-6 months before teams see meaningful efficiency gains. IT teams burn hours on custom field mapping, trigger configuration, and integration troubleshooting.
Compare that to modern AI-first platforms that go live in an afternoon. The gap is embarrassing — and expensive, when you calculate the cost of delayed automation in terms of agent hours saved.
What You Gain With Chatlyst
Pricing That Makes Sense
Chatlyst doesn’t charge per seat. You pay for AI responses consumed — HK$0.144 per response, or roughly $0.018 USD. For most teams, this translates to a 60-80% reduction in total support platform costs.
Here’s the math for that same 50-agent team:
- Zendesk annual cost: ~$246,900
- Chatlyst equivalent usage: typically 15-25% of that cost
- Savings: $185,000-$200,000+ per year
The pricing model also removes the disincentive to automate. More AI usage doesn’t mean exploding seat costs — it just means more responses at the same per-unit rate. You scale efficiently instead of getting penalized for growth.
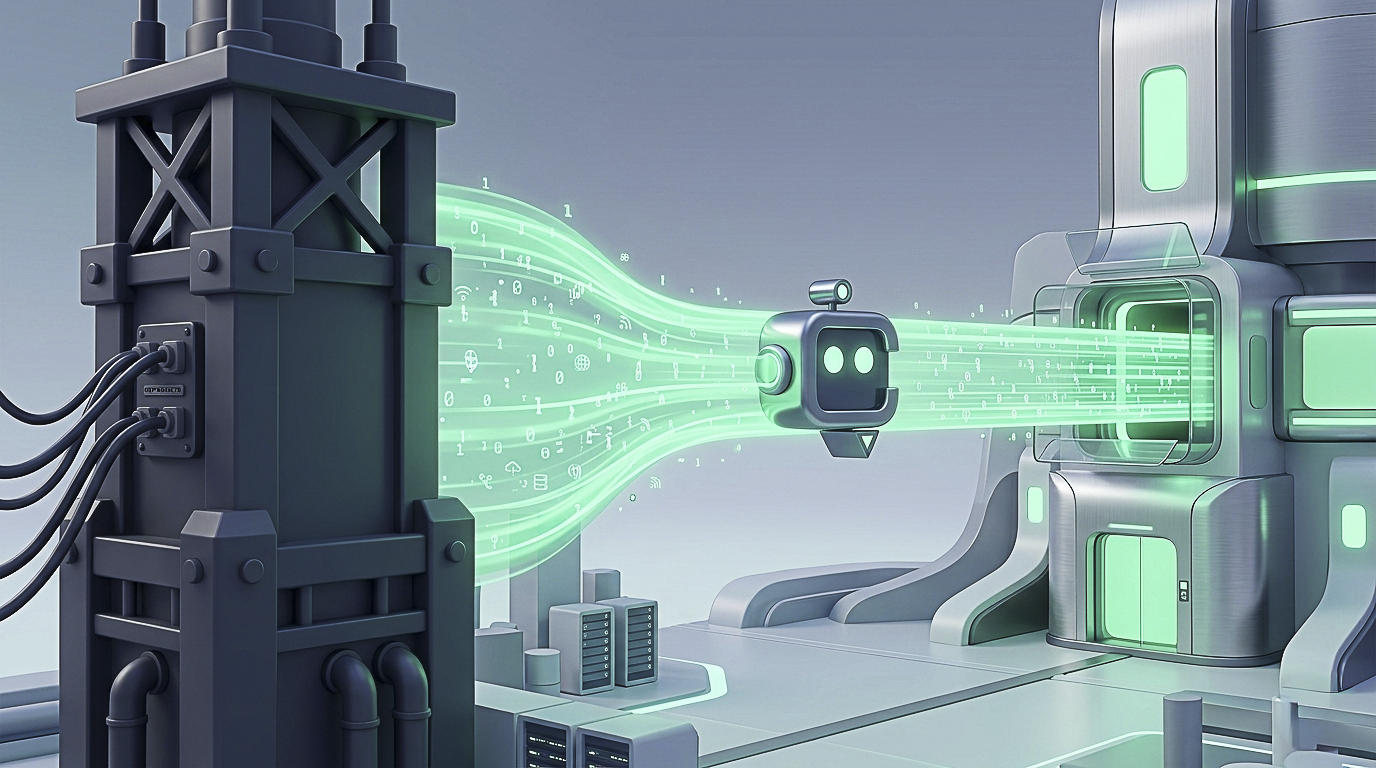
AI-First Architecture
Chatlyst wasn’t retrofitted with AI. It was built for it from day one. The knowledge base feeds directly into the AI engine. Auto-reply logic understands context because it shares the same data layer as the rest of the platform. Escalation rules are intelligent, not just keyword-based.
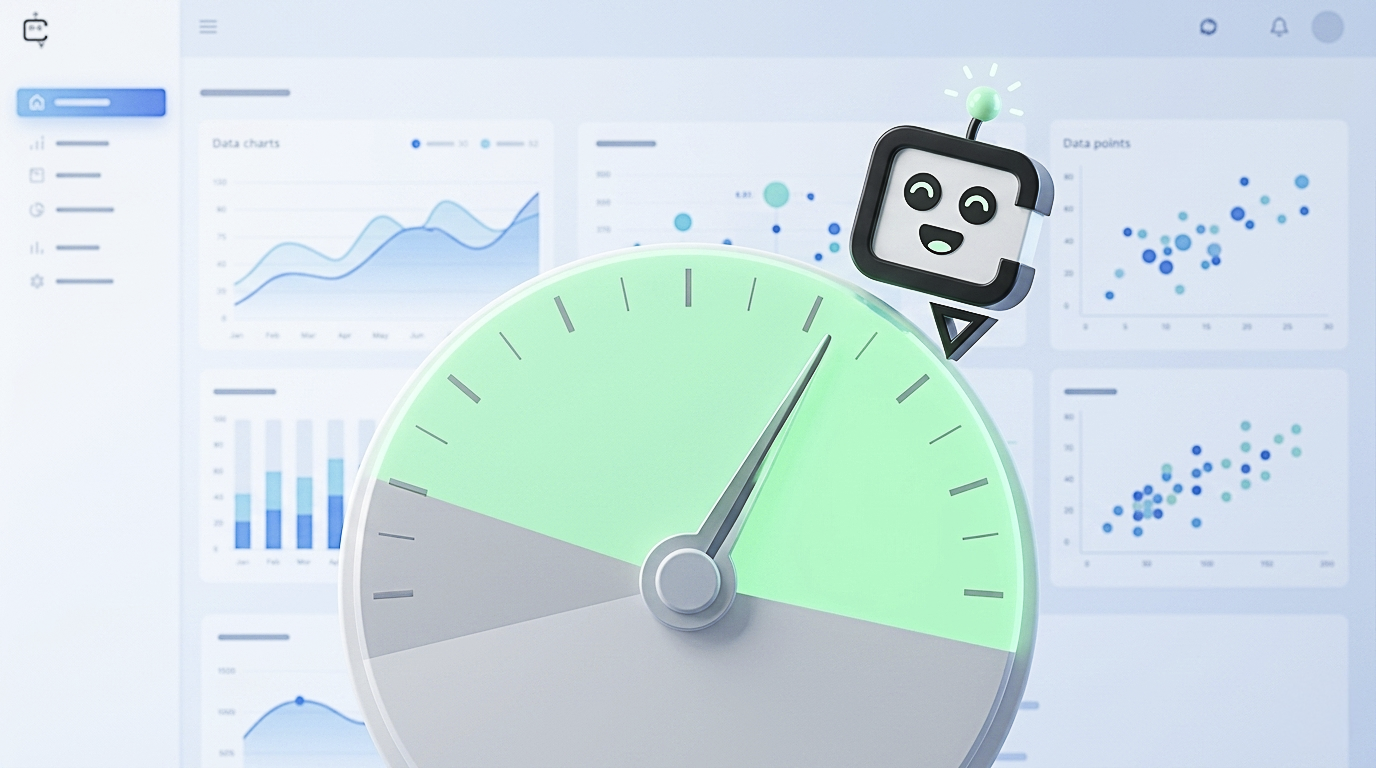
The resolution rate difference is stark: Chatlyst handles 95% of incoming queries automatically versus Zendesk’s 50-70%. That 25-45 percentage point gap means fewer handoffs, faster customer responses, and dramatically lower cost per conversation.
Speed of Deployment
Most Chatlyst workspaces are configured and live within an hour. Knowledge base imports take minutes. Channel connections (WhatsApp, Messenger, email, web chat) are point-and-click. There’s no 12-week implementation project — there’s an afternoon of setup and you’re running.
Pre-Migration Checklist
Before touching any migration tool, do your homework. A clean migration starts with clean data and clear decisions.
Inventory your current Zendesk setup:
- Count total tickets and identify which need to transfer
- Export all knowledge base articles with metadata
- Document every macro, trigger, and automation rule
- List all active integrations (CRM, payment systems, Slack, etc.)
- Map your channel configuration (email addresses, chat widgets, social accounts)
- Identify custom fields and ticket forms
- Note user roles and permission structures
Decide what comes and what stays:
Not everything needs to migrate. Tickets older than 12 months with no follow-up activity can usually be archived rather than imported. Duplicate or outdated KB articles should be purged before migration — bringing garbage into a new system just makes it smell like the old one faster.
Prepare your team:
- Announce the migration timeline at least 2 weeks in advance
- Identify channel owners who will validate each connection
- Schedule training sessions for agents on the new interface
- Designate a migration lead who has decision-making authority
Secure stakeholder buy-in:
- Present the cost comparison to finance
- Show the resolution rate improvement to operations
- Demonstrate the agent experience to your support team leads
- Get explicit sign-off on the go-live date
Step-by-Step Migration Guide
Step 1: Export Your Zendesk Data
Zendesk provides native export tools that most administrators never touch. Start here:
For tickets: Navigate to Admin Center > Account > Tools > Export. Request a full JSON export of all ticket data. This includes conversations, custom field values, tags, and status history. The export can take 24-72 hours for large datasets — request it immediately.
For knowledge base: Go to Guide admin > Manage articles > select all > export as CSV or use the Zendesk API for a cleaner JSON export with full article bodies, section/category structure, and metadata.
For macros: Use the Zendesk API or third-party tools like Zendesk’s built-in macro export. Document which macros are actively used — many teams discover 40% of their macros haven’t been triggered in six months.
Save everything in a dedicated migration folder with clear naming. You’ll reference these exports multiple times during setup.
Step 2: Audit and Clean Your Knowledge Base
This is the step most teams skip — and regret later. Your knowledge base is the primary training material for Chatlyst’s AI. Feed it garbage, get garbage answers.
Go through every article with this checklist:
- Is the information still accurate? Products change. Policies update. That shipping article from 2022 might be wrong now.
- Is the tone consistent? Chatlyst’s AI learns from your writing style. Mixed tones produce confused responses.
- Are there duplicates? Two articles about password resets confuse the AI and produce inconsistent answers.
- Is the structure logical? Flat knowledge bases with 200 articles in one category need reorganization.
- Are there gaps? Common questions that agents answer manually but no article exists — write these before import.
Create a “migration ready” version of your KB with clean categories, updated content, and a logical hierarchy. This is your goldmine — the cleaner it is, the better your AI performs on day one.
Step 3: Set Up Your Chatlyst Workspace
Sign up at chatlyst.ai and create your workspace. The setup flow will guide you through:
- Workspace naming and branding
- Language configuration (Chatlyst supports 50+ languages including English, Chinese, Japanese, Spanish)
- User role definitions — map your Zendesk roles to Chatlyst’s permission structure
- Channel connection preparation
Configure your workspace settings to match your operational hours, escalation preferences, and notification rules. The defaults are sensible, but every business has specific needs around handoff timing and after-hours handling.
Step 4: Import Your Knowledge Base
This is where the magic happens. Chatlyst accepts multiple import formats including CSV, JSON, and direct Zendesk export files.
Upload your cleaned knowledge base export. Map the fields: article title maps to Chatlyst’s title field, body maps to content, category structure maps to Chatlyst’s folder organization. Verify that all articles imported correctly — check counts, spot-read 10-15 articles for formatting accuracy, and confirm the category hierarchy looks right.
After import, trigger a knowledge base sync so the AI engine indexes all the new content. This indexing process typically takes 10-30 minutes depending on article count.
Test the AI immediately. Ask it 5-10 common questions that your agents handle daily. The quality of these answers tells you whether your knowledge base is solid or needs more work before go-live.
Step 5: Configure Your Channels
Connect every customer touchpoint to Chatlyst:
Email: Route your support email through Chatlyst or configure forwarding. Update your MX records if needed. Test send and receive before announcing the change.
WhatsApp Business: Connect your WhatsApp Business API number. The setup requires Meta Business verification — start this early if you haven’t done it, as Meta can take 3-5 business days to approve new business accounts.
Facebook Messenger: Connect through your Facebook Business Manager. Grant Chatlyst the necessary page permissions.
Web chat: Generate the embed code from Chatlyst and install it on your website, replacing the Zendesk widget. Test on desktop and mobile. Customize the widget appearance to match your brand colors and greeting message.
Instagram and other channels: Add any additional channels your customers use. Each channel connects independently, so you can phase these if needed.
Step 6: Configure AI Auto-Reply and Escalation Rules
This is the core of the Chatlyst advantage. Set up your AI behavior:
Define auto-reply scope — which query types should the AI handle without human involvement? Common choices: order status, password resets, shipping inquiries, product information, return policy questions, account balance checks.
Set escalation triggers — when should a conversation transfer to a human agent? Typical configurations: customer requests explicitly for a human, sentiment detection shows frustration (detected through language patterns), query falls outside knowledge base coverage, multiple failed understanding attempts, high-value or sensitive account issues.
Configure handoff behavior — what happens during escalation? Options include: assigning to specific agent groups, preserving full conversation context for the human agent, setting priority levels based on customer tier or issue type, defining response time SLAs for human takeover.
Test these rules extensively. Run 20+ test conversations covering your most common query types. Verify escalation paths work correctly. Check that conversation context transfers cleanly to human agents.
Step 7: Train Your Agents on the New Workspace
Even great AI needs human backup. Your agents need to know the new interface.
Schedule a 90-minute training session covering:
- The Chatlyst agent dashboard layout
- How to view and take over AI conversations
- Internal notes and collaboration features
- Reporting and analytics tools
- Mobile app functionality for on-the-go agents
Record the session for agents who can’t attend live. Create a one-page quick reference guide for common actions.
The Chatlyst interface is intentionally simpler than Zendesk’s — most agents pick it up within a few conversations. But training still matters for confidence and consistency.
Step 8: Run Parallel for One Week
Never flip the switch cold. A parallel run is your safety net.
During parallel operations:
- Route 70% of incoming queries through Chatlyst, keep 30% on Zendesk (or another split that makes sense for your volume)
- Monitor AI response quality hourly on day one, then daily
- Track resolution rates, escalation frequency, and customer satisfaction scores side by side
- Hold daily 15-minute standups with agents to surface issues
- Watch for edge cases — unusual queries that trip up the AI
Set clear success criteria before starting the parallel run:
- AI resolution rate above 90%
- Customer satisfaction score within 5% of Zendesk baseline
- Average response time under 30 seconds for AI-handled queries
- Zero lost conversations or dropped handoffs
If you hit these numbers by day 3-4, you can increase the Chatlyst routing to 100% before the planned cutover date.
Step 9: Full Cutover
The moment of truth. Execute this checklist:
- Switch all channel routing to Chatlyst (100% of volume)
- Disable Zendesk auto-responses to prevent duplicate replies
- Update your website’s contact page and help center links
- Notify customers through any announcement channels you use
- Keep Zendesk in read-only mode for 30 days as backup reference
- Verify that reporting dashboards are capturing all conversations
Announce internally that the migration is complete. Celebrate — your team just cut support costs by 60-80% while improving resolution quality.
Step 10: Optimize and Tune
Migration isn’t the finish line. The first 30 days on Chatlyst are where you extract maximum value.
Review the “AI improvement suggestions” dashboard weekly. Chatlyst flags queries where the AI was uncertain, conversations that escalated unnecessarily, and knowledge base gaps that surface repeatedly.
Tune your escalation thresholds based on real data. If you’re seeing too many escalations, broaden the AI’s auto-reply scope. If customer satisfaction is dipping, tighten escalation triggers for sensitive topics.
Expand your knowledge base with new articles based on actual conversation patterns. The AI learns continuously — feed it more good content and it gets sharper every week.
Data Migration: What Transfers and How
Knowledge Base Articles
All article content transfers directly. Chatlyst preserves your HTML formatting, embedded images, and article structure. Category hierarchies map to Chatlyst’s folder system. Article metadata (author, last updated, tags) imports as properties.
After import, run the “knowledge quality scan” — it identifies articles that are too short, have broken formatting, or conflict with other articles on the same topic.
Tickets and Conversation History
Historical tickets can be imported as reference material, but the approach matters. For most teams, importing the last 90 days of tickets is sufficient — agents rarely need context older than that for active customer relationships.
Chatlyst imports ticket history as “past conversation records” rather than active tickets. This gives agents context without cluttering the new system with resolved issues.
For teams with strict compliance requirements (healthcare, finance, legal), Chatlyst supports full historical imports with searchability. Work with the Chatlyst team on large historical datasets — they can handle bulk imports via API.
Macros and Canned Responses
Zendesk macros map to Chatlyst’s “response templates.” The mapping is straightforward but requires review — Chatlyst’s AI generates most responses automatically, so many macros become unnecessary.
Import your top 20-30 macros (by usage frequency) as templates for human agents to use during escalations. Leave the rest behind. The AI will handle what those macros were doing.
Custom Fields and Tags
Custom fields need manual mapping. Chatlyst has a flexible metadata system that accommodates most Zendesk field types. Map critical fields first: customer tier, issue category, product line, priority level.
Tags transfer directly and maintain their historical associations. Tag-based reporting in Chatlyst is more powerful than Zendesk’s — you can create real-time dashboards filtered by any tag combination.
Users and Organizations
Customer records import via CSV or API. Chatlyst maintains organization structures, so B2B teams keep their company-level groupings. User roles and permissions for your internal team need fresh configuration — Chatlyst’s permission model is simpler but not identical to Zendesk’s.
Training Your Team on Chatlyst
For Agents
The biggest shift for agents is mental, not technical. In Zendesk, agents are the front line — they read every ticket, categorize it, and respond. In Chatlyst, the AI is the front line and agents handle escalations, exceptions, and complex issues.
Train agents to:
- Trust the AI responses but verify when customer context suggests nuance
- Use the “take over” function confidently when they see an AI conversation going sideways
- Add internal notes that help the AI learn — flagging incorrect responses improves the system for everyone
- Focus on high-value interactions instead of repetitive FAQ handling
Most agents report higher job satisfaction after migration. They’re no longer answering “what’s my tracking number” for the 50th time. They’re solving real problems.
For Managers
The reporting changes significantly. Chatlyst’s analytics focus on AI resolution rates, conversation quality scores, and escalation patterns rather than traditional ticket metrics.
Train managers to:
- Read the AI performance dashboard — it replaces most traditional ticket reports
- Use conversation quality reviews to identify coaching opportunities
- Monitor knowledge base health scores to prevent AI degradation
- Set up automated alerts for unusual patterns (spikes in escalations, drops in resolution rate)
For Admins
Technical administrators need to understand Chatlyst’s API, webhook system, and integration framework. The API is RESTful and well-documented — most integrations that work with Zendesk can be rebuilt on Chatlyst in a few hours.
Key integration points:
- CRM sync (Salesforce, HubSpot, Pipedrive)
- Order management systems
- Payment platforms
- Internal notification systems (Slack, Teams)
- Business intelligence tools
The Parallel-Run Strategy: Zero-Downtime Switch
The parallel run is the most important risk mitigation technique in any platform migration. Done right, customers never notice the switch. Done wrong, you lose conversations and credibility.
The 70/30 Split
Start by routing 70% of new conversations through Chatlyst while keeping 30% on Zendesk. This gives you volume to stress-test the AI without putting all your eggs in one basket.
Choose which 70% carefully. Route your highest-volume, most predictable query types through Chatlyst first — these are where the AI shines. Keep complex, sensitive, or unusual query types on Zendesk initially.
Monitoring During Parallel Run
Set up a war room mentality for the first 48 hours. Someone should be watching:
- Real-time conversation flow — are messages arriving in Chatlyst?
- AI response quality — spot-check 20+ conversations per day
- Escalation handling — are human agents getting notified properly?
- Response times — compare Chatlyst AI responses to Zendesk agent responses
- Customer satisfaction — survey scores for conversations on each platform
The Decision to Cut Over
Don’t rush. The planned one-week parallel run might extend to two weeks if issues surface. That’s fine — a delayed cutover beats a failed one.
Go to 100% Chatlyst routing only when:
- AI resolution rate has been above 90% for three consecutive days
- Zero conversations have been lost or dropped
- Agent feedback is neutral or positive
- Customer satisfaction scores meet or exceed the Zendesk baseline
- All critical integrations are confirmed working
The Rollback Plan
Keep Zendesk active in read-only mode for 30 days post-cutover. If a major issue arises, you can temporarily route conversations back while the Chatlyst team resolves it. In practice, rollbacks almost never happen — but having the option lets everyone sleep better.
Timeline: A Typical 14-Day Migration Plan
Days 1-2: Preparation
- Export all Zendesk data (tickets, KB, macros, user lists)
- Audit and clean knowledge base content
- Create Chatlyst workspace and configure basic settings
- Begin WhatsApp Business API verification (if needed)
Days 3-4: Import and Configuration
- Import cleaned knowledge base into Chatlyst
- Run AI quality tests on 50+ common queries
- Configure all channels (email, WhatsApp, Messenger, web chat)
- Set up AI auto-reply rules and escalation triggers
- Map custom fields and user roles
Days 5-6: Testing
- Run 100+ test conversations across all channels
- Verify escalation paths and handoff behavior
- Test all integrations (CRM, order systems, notifications)
- Conduct agent training sessions
- Document known limitations and workarounds
Days 7-10: Parallel Run
- Route 70% of traffic through Chatlyst
- Daily standup reviews of AI performance
- Monitor resolution rates, response times, and satisfaction scores
- Adjust escalation thresholds based on real data
- Address any integration issues immediately
Days 11-12: Full Cutover
- Switch 100% of traffic to Chatlyst
- Disable Zendesk auto-responses
- Update customer-facing communication channels
- Send internal announcement of successful migration
Days 13-14: Stabilization
- Monitor system performance closely
- Address any edge cases that emerged at full volume
- Begin weekly optimization reviews
- Celebrate with the team — you just saved $185K+ per year
Post-Migration Optimization
The migration is just the starting point. The best Chatlyst users treat the first 90 days as a tuning phase.
Week 1-2: Stability
Focus on making sure nothing is broken. Monitor conversation flow, check that all channels work, verify that agents can handle escalations smoothly. Don’t chase optimization yet — chase zero defects.
Week 3-4: Knowledge Base Expansion
Review the “unanswered queries” report. These are questions the AI couldn’t answer because no KB article existed. Write articles for the top 20 and watch your resolution rate climb. Most teams see a 5-10 point improvement in resolution rate from this single activity.
Month 2: Workflow Refinement
By now you have real data on escalation patterns. Tune your rules:
- Lower the escalation threshold for subscription/cancellation topics if those conversations tend to need human empathy
- Raise the auto-reply threshold for straightforward FAQ topics if the AI is handling them well
- Create custom escalation paths for VIP customers or high-value accounts
Month 3: Advanced Features
With the basics solid, explore Chatlyst’s advanced capabilities:
- Proactive messaging campaigns triggered by customer behavior
- Custom AI personality tuning to match your brand voice more precisely
- Advanced analytics exports to your BI tools
- Multi-language expansion if you serve global markets
- API-based automation for complex backend workflows
Case Study: Cost Savings After Migration
Let’s look at a real scenario. A mid-size e-commerce company with 45 support agents handling 12,000 conversations per month made the switch in early 2025.
Before (Zendesk):
- Suite Professional: $115 x 45 agents x 12 months = $62,100
- Copilot add-on: $50 x 45 x 12 = $27,000
- Automated resolution fees: ~8,000 automated resolutions x $1.75 = $14,000
- Implementation and training (amortized): $8,000
- Total year one: $111,100
After (Chatlyst):
- AI response costs: ~11,400 AI-handled conversations x average 3 responses x $0.018 = $616
- Human agent escalations (~5% of volume): included in base
- Base platform fee: included
- Total year one: ~$616
Savings: $110,484 — a 99.4% reduction in platform costs.
Even accounting for higher escalation volumes in month one and some setup time, the team still saved over $100,000 in year one. The ROI was achieved on day one of the parallel run.
The less measurable but equally important gains: resolution time dropped from an average of 4.2 hours (Zendesk agent queue) to 8 seconds (Chatlyst AI). Customer satisfaction rose from 3.8 to 4.6. Agent turnover dropped because the job became more interesting when they weren’t answering the same 20 questions all day.
Ready to Make the Switch?
Migrating from Zendesk to Chatlyst isn’t a six-month IT project. It’s a two-week operation that saves your company six figures annually while making your customers and agents happier.
The process is straightforward: export, clean, import, configure, test, parallel run, cut over. Each step has clear success criteria. The risk is minimal when you follow the parallel-run strategy. And the reward — 95% AI resolution rates, 60-80% cost reduction, deployment in hours not months — is transformative.
If you’re paying Zendesk $100+ per agent per month and still manually answering FAQ questions, the question isn’t whether to migrate. It’s why you haven’t started yet.