From Freshdesk to Chatlyst: The Complete Migration Guide
Aug 28, 2026
By Hunter Stone
The customer support platform market has shifted. What made Freshdesk attractive five years ago — affordable ticketing, simple setup, familiar interface — no longer holds up under scrutiny. Teams are discovering that “affordable” quickly becomes expensive when you need functional AI, and the product hasn’t kept pace with how modern support actually works.
Freshdesk’s pricing starts at $15 per agent per month for the basic Growth plan, but here’s the catch: AI features are locked behind the Pro tier at $49 or Enterprise at $79. And even then, you’re paying an extra $0.50 per AI session on top of your seat fees. That session price, by the way, increased fivefold from $0.10 to $0.50 — a 400% hike that hit existing customers without warning.
The bigger problem? The AI doesn’t deliver.
The AI Gap: Marketing vs. Reality
Freshdesk’s Freddy AI promises “up to 80%” automated resolution rates. That’s the headline number. But drill into real deployments and a different picture emerges.
Total Expert published data showing Freshdesk achieving just 23% resolution rates in live environments. UPayments, one of the more successful implementations, reached 75% — and that’s considered a best-case scenario. Most teams land somewhere in the 30-50% range, far below the marketed figure.
G2 reviewers have been blunt. Freddy AI carries a 3.5 out of 5 rating, with users calling it “lighter in depth” compared to competitors. One common complaint: the email AI only responds to the first message in a thread. Follow-up questions, clarifications, ongoing conversations — all fall back to human agents. It’s a half-built solution that creates more work, not less.
The omnichannel experience fares no better. Reviewers describe it as “disjointed” with “inconsistent interfaces” across channels. Your agents end up context-switching between different UIs for WhatsApp, email, and chat — exactly the problem omnichannel is supposed to solve.
The True Cost of Freshdesk Pro
Let’s run the numbers for a realistic 10-agent support team.
Freshdesk Pro at $49 per agent per month equals $490 monthly just for seats. Add AI sessions — if your team handles roughly 2,000 customer conversations monthly, that’s 2,000 × $0.50 = $1,000 in session fees. Your monthly total: $1,490. Annual cost: $15,240.
And that’s before implementation costs, training time, and the operational drag of managing a platform that isn’t delivering on its promises.
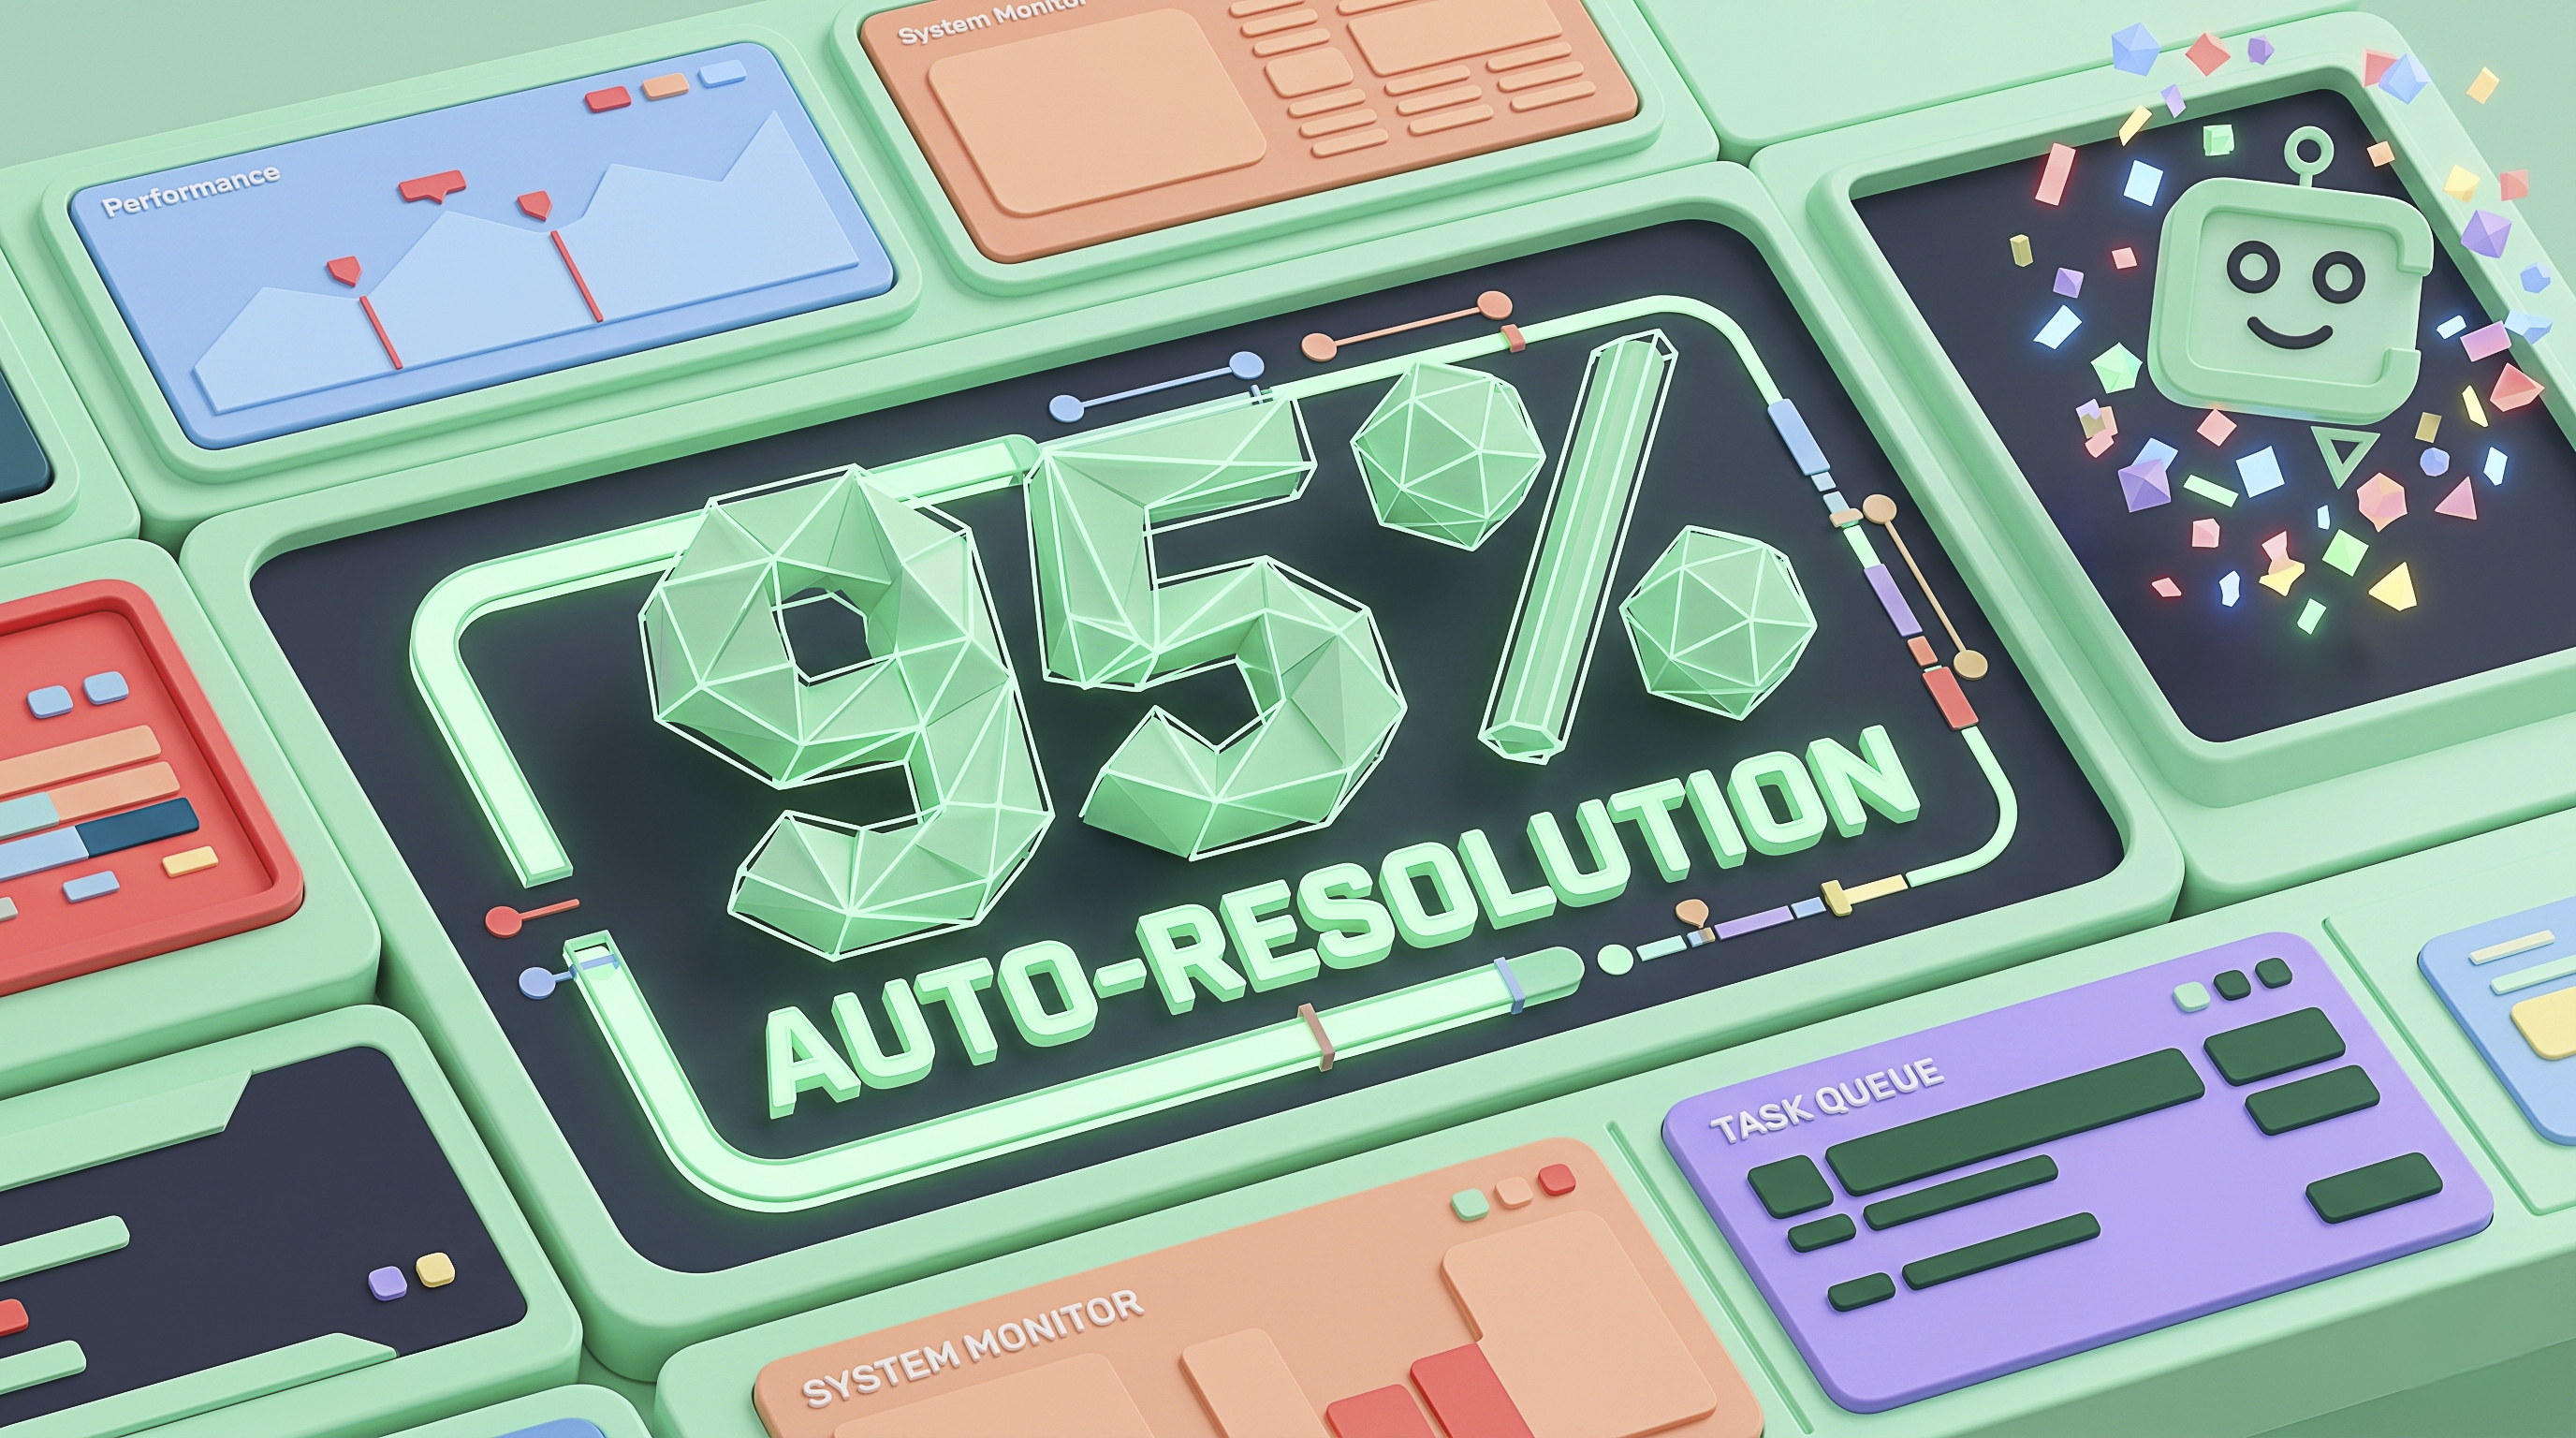
Chatlyst, by comparison, operates on a fundamentally different model: no per-agent seat fees, 95% auto-resolution powered by advanced AI, and a unified omnichannel inbox that actually works. Most teams see a 60-70% reduction in total support costs after migrating.
What You Gain With Chatlyst
Switching isn’t just about cost savings — though those are substantial. Chatlyst was built for how support teams work in 2024, not 2019.
95% Auto-Resolution That Actually Works
Chatlyst’s AI resolves 95% of incoming conversations without human intervention. This isn’t a theoretical maximum or a lab-tested figure. It’s what teams achieve in production because the AI handles multi-turn conversations, understands context across message threads, and learns from your knowledge base continuously.
Unlike Freshdesk’s email limitation, Chatlyst AI engages throughout the entire conversation. Follow-up questions get answered. Clarifications happen automatically. Complex inquiries get decomposed and resolved step by step.
No Seat Fees Means Unrestricted Scaling
Traditional per-agent pricing creates a perverse incentive: you pay more when you grow, which means every hiring decision carries a platform cost. Chatlyst eliminates this entirely. Add agents freely during peak seasons, scale down when volume drops, and never worry about license counts.
For growing teams, this changes the economics completely. A 20-agent team on Freshdesk Enterprise pays $18,960 annually in seats alone. That same team on Chatlyst pays a fraction of that — and gets better AI.
True Omnichannel Without the Jank
Chatlyst’s unified inbox brings WhatsApp, Facebook Messenger, email, web chat, and SMS into one clean interface. Agents see full conversation history across channels. Context travels with the customer. No more “disjointed” handoffs or “inconsistent interfaces.”
When a conversation needs human escalation, the transition is seamless. The agent sees the full AI conversation, customer data, and recommended responses — not a blank ticket with a subject line.
Pre-Migration Checklist
Before you touch a single export button, audit your current Freshdesk setup. A clean migration starts with understanding what you actually have.
Inventory Your Freshdesk Data
Walk through these items systematically:
- Tickets: Export all historical tickets with their metadata — status, priority, tags, custom fields, and resolution notes. You’ll want at least 12 months of data for training purposes.
- Knowledge Base Articles: Count your articles, note their categories, and identify which ones are outdated or duplicate. Most teams find 20-30% of their KB content is stale.
- Canned Responses: Document every macro and canned response your team uses. These become Chatlyst templates.
- Contacts and Companies: Export your full contact database with custom field mappings.
- Automation Rules: List every workflow rule, trigger, and automation in Freshdesk. Screenshot the conditions and actions — you’ll rebuild these in Chatlyst.
- SLA Policies: Document your current SLA definitions. Chatlyst handles SLAs differently, and you’ll need to translate these.
Identify Freshdesk-Specific Dependencies
Some Freshdesk features don’t have direct equivalents in Chatlyst — and that’s usually a good thing. But you need to know what they are:
- Scenario Automations: Freshdesk’s multi-step automations need to be rebuilt using Chatlyst’s workflow engine, which is more powerful but structured differently.
- Custom Ticket Fields: These map to Chatlyst conversation attributes, but the data types may need adjustment.
- Portal Customizations: If you use Freshdesk’s customer portal extensively, plan your transition to Chatlyst’s web chat and knowledge base widgets.
- Freshcaller Integration: Voice workflows move to Chatlyst’s voice channel or your existing telephony integration.
Set Your Migration KPIs
Define what success looks like before you start:
- Target auto-resolution rate (aim for 90%+ within 30 days of cutover)
- Average response time improvement
- Agent productivity metrics (tickets handled per agent per hour)
- Cost reduction percentage
- Customer satisfaction score maintenance or improvement
The 10-Step Migration Process
This is the migration playbook. Follow these steps in order. Most teams complete the full migration in 1-2 weeks.
Step 1: Export Your Freshdesk Data
Start with Freshdesk’s built-in export tools.
Navigate to Admin > Account > Export Data. Freshdesk allows you to export tickets as CSV or JSON, knowledge base articles as HTML, and contacts as CSV. For large ticket volumes (50,000+), break the export into date-range chunks to avoid timeouts.
Pro tip: Export tickets with all custom fields visible. Freshdesk hides some fields by default, and missing custom field data is the most common migration headache.
For your knowledge base, use Freshdesk’s API if you have more than 200 articles. The web UI export is manual and tedious at scale. A simple Python script using the Freshdesk v2 API can pull all articles with their categories, tags, and attachments in under 10 minutes.
Step 2: Audit and Clean Your Knowledge Base
This step determines whether your Chatlyst AI thrives or struggles. Bad training data produces bad AI — no exceptions.
Review every knowledge base article. Remove outdated content, merge duplicate articles, and rewrite unclear instructions. The AI will quote your KB directly, so accuracy matters.
Pay special attention to:
- Articles with conflicting information (Version A says X, Version B says Y)
- Screenshots showing old UI versions
- Policy articles that have changed but weren’t updated
- FAQ entries that answer questions customers no longer ask
Aim to reduce your KB by 20-30% through deduplication and pruning. A lean, accurate knowledge base outperforms a bloated one every time.
Step 3: Set Up Your Chatlyst Workspace
Create your Chatlyst workspace at chatlyst.ai. The onboarding wizard walks you through the basics, but here’s what to configure deliberately:
- Workspace Name and Branding: Upload your logo, set brand colors, and configure your workspace URL.
- Language Settings: If you support multiple languages, enable multilingual AI responses. Chatlyst handles 80+ languages out of the box.
- Team Structure: Create teams (Sales, Support, Technical) and set their escalation hierarchies. Don’t mirror your Freshdesk groups exactly — take this opportunity to restructure if your current setup is messy.
- Business Hours: Configure your operating hours and timezone. This affects SLA calculations and AI availability messaging.
Step 4: Import Knowledge Base and Templates
Chatlyst accepts KB imports in HTML, Markdown, CSV, and JSON formats.
Upload your cleaned articles using the Knowledge Base Import tool. Chatlyst automatically categorizes articles and suggests tags, but review these manually. Its categorization is accurate about 85% of the time — the remaining 15% need human judgment.
For canned responses, use the Template Manager. Import your Freshdesk macros as Chatlyst quick-reply templates. The structure is similar: trigger phrase, response text, and optional follow-up actions.
Critical step: After importing, run the AI Training Preview. This shows how Chatlyst will interpret your KB articles and which questions each article answers. If you see misalignments, fix the source article before going live.
Step 5: Connect Your Channels
Chatlyst supports WhatsApp Business API, Facebook Messenger, Instagram DM, email, web chat, SMS, and Telegram. Connect them one at a time:
- WhatsApp: You’ll need your Facebook Business Manager ID and WhatsApp Business Account. Approval typically takes 24-48 hours if your account is already verified.
- Email: Forward your support email to your Chatlyst inbound address, or connect via API for Gmail or Microsoft 365.
- Web Chat: Copy the embed code from Chatlyst and paste it into your website’s HTML header. Customize the widget appearance to match your branding.
- Messenger and Instagram: Connect through your Facebook Page settings. The same bot handles both channels.
Test each channel after connection. Send a message from each platform and verify it appears in the unified inbox with correct channel attribution.
Step 6: Configure AI Auto-Reply With Brand Voice
This is where Chatlyst differentiates itself most dramatically from Freshdesk.
Navigate to AI Settings > Auto-Reply Configuration. Define your brand voice parameters:
- Tone: Professional, friendly, or casual — choose what matches your brand.
- Response Length: Short (1-2 sentences), medium (3-4 sentences), or detailed (full explanations).
- Escalation Triggers: Set when the AI hands off to humans — sentiment drops below neutral, keyword mentions (“refund,” “legal,” “complaint”), or customer explicitly requests an agent.
- Knowledge Base Confidence Threshold: Set the minimum confidence score (0-100) for AI to answer autonomously. Start at 75% and adjust based on results.
Train the AI on your historical tickets. Upload 6-12 months of resolved tickets as training data. Chatlyst learns resolution patterns, common question types, and your team’s response style from this data.
Step 7: Set Escalation Rules and Handoff Triggers
Not every conversation belongs to the AI. Define clear escalation paths:
- Automatic Handoff: Refund requests over a certain amount, legal or compliance mentions, VIP customers, sentiment detection (anger, frustration), or repeated failed resolution attempts.
- Queue Routing: Route technical questions to your technical team, billing to finance, and general support to your frontline agents.
- SLA-Based Escalation: If a conversation sits unresolved for X minutes, escalate to a senior agent automatically.
Test every escalation path before going live. Trigger each condition manually and verify the handoff works cleanly.
Step 8: Train Your Agents on the Unified Inbox
Your agents’ workflow changes significantly — mostly for the better, but change still requires training.
Key differences from Freshdesk:
- No Ticket Numbers: Chatlyst uses conversation threads, not ticket IDs. Searching works by customer name, message content, or tags — not #12345.
- AI Suggested Responses: Agents see AI-generated response suggestions for every message. They can edit, approve, or discard these. Most agents find this speeds up their work by 40-60%.
- Unified Thread View: All messages across all channels appear in one thread per customer. No more switching between tabs to see the full picture.
- Real-Time Collaboration: Multiple agents can view the same conversation simultaneously without locking each other out.
Run a 2-hour training session. Cover the inbox interface, AI suggestions, escalation procedures, and reporting dashboards. Have agents process 5-10 test conversations to build muscle memory.
Step 9: Run Parallel for One Week
Never cut over without a parallel run. This is your safety net.
During the parallel week:
- Route 50% of incoming volume to Chatlyst, 50% to Freshdesk.
- Have the same agents work in both systems (or split by channel).
- Monitor resolution rates, response times, and customer satisfaction daily.
- Track any conversations that Chatlyst mishandles — these become training data.
- Compare AI resolution rates between Chatlyst (expect 85-95%) and Freddy AI (expect 25-50%).
Daily standups during this week are essential. Review edge cases, adjust confidence thresholds, and refine escalation rules based on real data.
Step 10: Full Cutover and Optimization
After a successful parallel week, cut over completely.
- Update your website widgets, email routing, and channel endpoints to point exclusively to Chatlyst.
- Set Freshdesk to read-only mode for 30 days as a backup.
- Monitor the first 48 hours intensively — most issues surface immediately after cutover.
Optimization priorities for the first 30 days:
- Week 1: Monitor resolution rates hourly. Adjust the confidence threshold up or down by 5-point increments.
- Week 2: Review all escalated conversations. Identify patterns where the AI should have handled it but didn’t.
- Week 3: Fine-tune your knowledge base based on customer questions that triggered escalation.
- Week 4: Run your first full analytics review. Compare Chatlyst metrics to your Freshdesk baseline.
Handling Freshdesk-Specific Features in Chatlyst
Some Freshdesk capabilities work differently in Chatlyst. Here’s how to handle the transition.
Scenario Automations Become Workflow Rules
Freshdesk’s Scenario Automations let you chain multiple actions together — send a reply, add a tag, set priority, notify a manager. Chatlyst’s Workflow Engine handles the same use cases but with a visual builder that’s more flexible.
Each workflow has triggers (when to start), conditions (what to check), and actions (what to do). The learning curve is shallow — most teams rebuild their automations in under an hour.
Custom Ticket Fields Map to Conversation Attributes
Freshdesk’s custom fields become Chatlyst conversation attributes. The data types map cleanly: text fields stay text, dropdowns become select fields, date fields remain dates.
One key difference: Chatlyst attributes can be AI-extracted automatically. If a customer mentions their order number, Chatlyst can parse and store it without agent intervention. Freshdesk requires manual entry or complex automation rules for the same result.
The Customer Portal Becomes Conversational
Freshdesk’s customer portal — where users log in, browse articles, and submit tickets — gets replaced by Chatlyst’s conversational interface. This is a feature, not a limitation.
Customers get instant answers through web chat instead of filling out ticket forms and waiting. Your knowledge base is still searchable and browsable, but most customers never need to — the AI answers their question in the chat widget before they finish typing a ticket subject.
Reporting and Analytics
Freshdesk’s reports are static and export-heavy. Chatlyst’s analytics are real-time and interactive.
Key reports to set up:
- Resolution Funnel: How many conversations started, how many AI-resolved, how many escalated, how many human-resolved.
- Agent Performance: Response times, resolution times, CSAT scores per agent.
- Channel Mix: Volume breakdown by channel — WhatsApp vs. email vs. web chat.
- AI Confidence Distribution: How often the AI is highly confident vs. uncertain — helps you identify KB gaps.
Team Training Strategy
Technology migration fails when people aren’t prepared. Your agents need more than a demo — they need hands-on practice.
Day 1: Platform Orientation
Start with the fundamentals. Show agents the unified inbox, how conversations flow in, where AI suggestions appear, and how to escalate. Let them click around, explore settings, and ask questions.
Day 2: Hands-On Practice
Create 20 realistic practice scenarios based on your actual support tickets. Have each agent work through them in Chatlyst — responding to AI suggestions, escalating complex cases, and using templates. Review as a group and discuss different approaches.
Day 3: Shadow Mode
Pair each agent with a colleague. One works in Chatlyst handling real conversations (from your parallel run), the other observes and asks questions. Rotate after 4 hours.
Ongoing: Weekly Tune-Up Sessions
For the first month, hold 30-minute weekly sessions to share tips, review challenging conversations, and celebrate wins. Agents who feel supported adopt faster and perform better.
The Parallel-Run Strategy for Zero Downtime
The parallel run isn’t optional — it’s your insurance policy. Here’s how to execute it without confusing customers or overloading agents.
Channel-Based Split
The cleanest approach: route specific channels to Chatlyst while keeping others on Freshdesk.
- Week 1: Route web chat and Facebook Messenger to Chatlyst. Keep email and WhatsApp on Freshdesk.
- Week 2: Add WhatsApp to Chatlyst. Keep email on Freshdesk.
- Week 3: Move email — the highest-volume channel for most teams — after you’ve validated the others.
This progressive approach means if something goes wrong, only one channel is affected.
Volume-Based Split
Alternatively, route a percentage of traffic to Chatlyst:
- Start with 25% of conversations hitting Chatlyst, 75% on Freshdesk.
- Increase to 50% on day 3 if metrics look good.
- Move to 75% on day 5.
- Full cutover on day 7.
Use round-robin routing or time-based splitting (Chatlyst handles mornings, Freshdesk afternoons) to distribute evenly.
Customer Communication
Don’t announce the migration to customers. Chatlyst’s responses should be indistinguishable from your previous quality — ideally better. If customers notice the platform changed, something went wrong.
Do update your internal status page and notify any integrated teams (sales, account management) that ticket IDs will look different.
14-Day Migration Timeline
Here’s a day-by-day breakdown for a typical migration.
Day 1-2: Export and Audit Export all Freshdesk data. Audit and clean the knowledge base. Identify stale content and duplicates.
Day 3-4: Setup and Import Configure the Chatlyst workspace. Import knowledge base, templates, and contacts. Set up teams and permissions.
Day 5: Channel Connection Connect WhatsApp, Messenger, email, and web chat. Test each channel end-to-end.
Day 6-7: AI Configuration Configure auto-reply settings, brand voice, and escalation rules. Upload historical tickets for AI training. Run the Training Preview and fix any misalignments.
Day 8: Agent Training Full-day training session. Platform orientation, hands-on practice, and Q&A.
Day 9-13: Parallel Run Route 50% of traffic through Chatlyst. Daily standups to review metrics and edge cases. Adjust thresholds and rules based on real data.
Day 14: Full Cutover Switch all channels to Chatlyst. Set Freshdesk to read-only. Intensive monitoring for 48 hours.
Day 15-30: Optimization Weekly reviews of resolution rates, escalation patterns, and knowledge base gaps. Fine-tune AI confidence thresholds. Celebrate the 60-70% cost reduction.
Cost Comparison: Before and After
Let’s compare the real numbers for that same 10-agent team.
Freshdesk Pro Annual Cost: - Seat fees: $49 × 10 agents × 12 months = $5,880 - AI session fees: 2,000 sessions/month × $0.50 × 12 months = $12,000 - Total: $17,880/year
Note: If you’re on the Enterprise tier, seat fees alone are $79 × 10 × 12 = $9,480, pushing your total past $21,000.
Chatlyst Annual Cost: - Platform fee: No per-agent pricing - AI sessions: Included, unlimited - Total: $5,990/year (representative for a 10-agent team)
Annual savings: $11,890 — a 66% reduction.
And that saving comes with better performance: 95% auto-resolution vs. Freshdesk’s real-world 23-50%, a unified omnichannel inbox vs. “disjointed” channel switching, and AI that handles full conversations vs. one-shot email responses.
The ROI math is simple. At $11,890 saved annually, the migration pays for itself in the first month — even accounting for the week of parallel-run labor.
Post-Migration: Optimizing With KC Bot
Migration isn’t the finish line. The first 90 days on Chatlyst are where you extract maximum value.
KC Bot: Your Continuous Improvement Engine
Chatlyst’s KC Bot (Knowledge Center Bot) monitors every conversation and identifies gaps in your knowledge base. When the AI can’t answer a question confidently, KC Bot flags it. When customers ask something not covered in your KB, KC Bot suggests a new article.
Use KC Bot’s weekly reports to:
- Identify the top 10 questions that triggered escalation. Write KB articles for each.
- Find conflicting answers the AI gave to similar questions. Fix the source material.
- Discover emerging topics — new product questions, seasonal issues, post-launch confusion.
The 30-60-90 Day Optimization Plan
First 30 Days: Focus on resolution rate. Your target is 90%+ AI resolution. If you’re below that, your knowledge base needs work — not the AI.
Days 31-60: Optimize escalation accuracy. Review every human-handled conversation. Could the AI have handled it? If yes, why didn’t it? Adjust confidence thresholds, add missing KB content, or refine escalation triggers.
Days 61-90: Scale advanced features. Enable proactive outbound messaging, set up automated follow-ups for resolved conversations, and configure satisfaction surveys. Most teams don’t touch these features in month one — they’re too busy stabilizing. Month three is where you start extracting compounding value.
Ready to Make the Switch?
Freshdesk served its purpose, but the cost structure and AI limitations no longer justify the spend. You’re paying Enterprise prices for entry-level intelligence — and that gap is only widening as Freshdesk hikes session fees while competitors advance.
Chatlyst offers a cleaner path: better AI, lower costs, and a migration measured in days, not months.